Importers
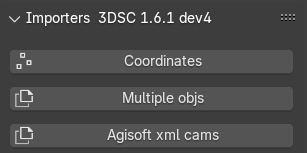
Fig. 35 Importers panel
Remember
To import georeferenced data in Blender it is important to set the SHIFT data, see the Shifting section.
This panel (Fig. 35) allows importing three data categories in Blender: points, objects, and cameras.
In the current UI, the main buttons are displayed in a flat layout:
Points as Empty Objects
Multiple objs
Agisoft XML CAMS (visible only when Enable Experimental Features is active)
Each command also includes a ? button that opens a contextual help popup with an extended description and a link to online documentation.
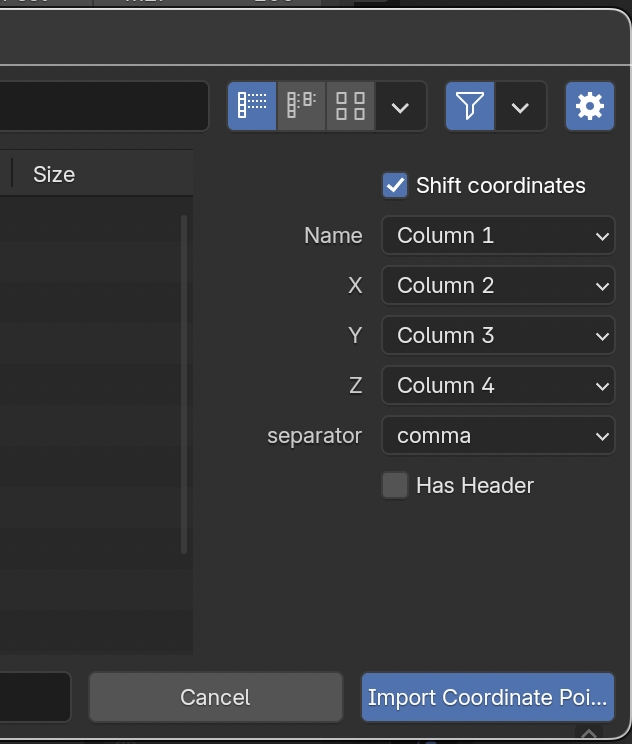
Fig. 36 Option of the Importers panel
By clicking the Points as Empty Objects button, users can import a 2D/3D point file (.csv or .txt) as Empty objects in relative or absolute coordinates. In the import window, users must: first, locate the appropriate file; second, after pressing the Toggle Region button (gear icon on the right side), associate the first 4 columns to name/X/Y/Z and define the separator (comma, space, semicolon, Fig. 36).
The options Shift coordinates and Has header allow to: apply SHIFT values to georeferenced data (when SHIFT has been configured in 3DSC/BlenderGIS) and ignore the first line if the source file has a header.
For a full end-to-end walk-through of the point importer (including the typical total station / GPS mixed-survey workflow and a step-by-step recipe for georeferencing local total station points onto GPS control points), see the dedicated recipe Import points (total station / GPS).
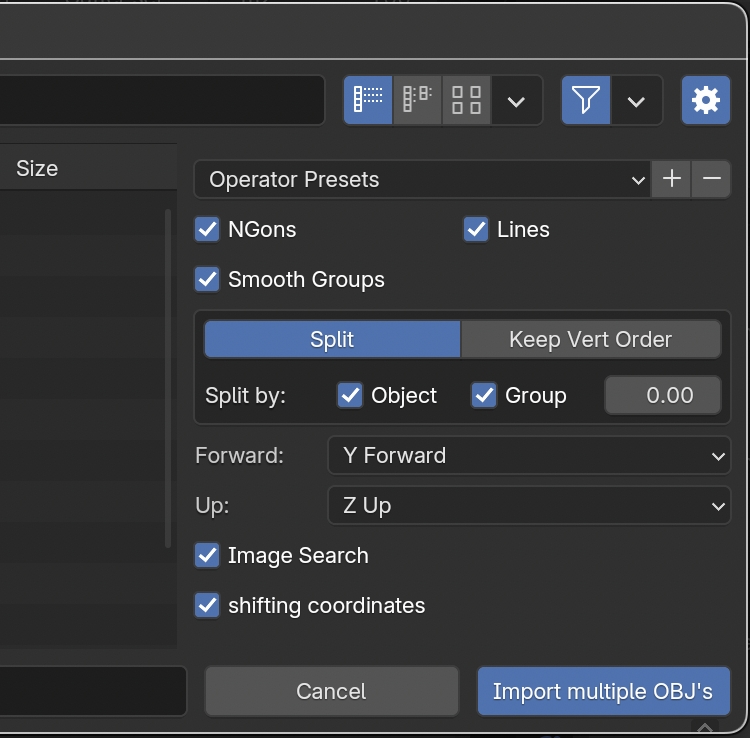
Fig. 37 Option of the Importers panel related to objects
By clicking on the Multiple objs button, 3DSC imports several OBJ objects with a single command. In the import window, users must:
locate the appropriate file;
select the correct options on the right side (default options generally work for standard OBJ files). If files are not Z Up and Y Forward, choose the correct orientation from the drop-down menus (Fig. 37).
For a full end-to-end walk-through of the batch import (including the
Shift coordinates option, georeferenced datasets and common
troubleshooting), see the dedicated recipe Importing photogrammetric models (Batch OBJ).
The Agisoft XML CAMS command is currently experimental and is displayed only when experimental features are enabled.
Remember
By default, when objects are imported into Blender using the Importer tool of 3DSC, geometries are displayed as Bounds. To change this display mode, select the Object tab, in the Blender’s Properties panel, then, in the Viewport Display panel, select Display as -> Textured to visualize the objects with their materials.
Remember
It is recommended to import objects without textures if they need to be textured later outside Blender.
DXF Import (subpanel)
The DXF Import subpanel (DXF_PT_ImportPanel, parented to
VIEW3D_PT_Import_ToolBar) imports DXF geometry into Blender while
applying the SHIFT values configured in the Shifting panel — the
typical case being CAD plans drawn in real-world coordinates that
otherwise sit far away from the Blender origin.
The subpanel requires the Python module ezdxf. If ezdxf is not
available, the subpanel displays an installation flow instead of the
import button.
UI states
ezdxfinstalledThe subpanel shows:
Import DXF File — opens the DXF importer dialog.
ezdxf version: <version>— reports the detected version.A read-only box showing the current SHIFT values (
X,Y,Z) so the user can verify them before importing.
ezdxfmissingThe subpanel shows:
An error label with the diagnostic message.
Reload Python Paths — re-scans
sys.pathafter a manual install.Install ezdxf module — installs
ezdxfvia the 3DSC external module installer.A tip suggesting a Blender restart after installation.
Operators
import_dxf.button— Import DXF FileOpens the DXF import dialog. SHIFT values from the Shifting panel are applied automatically.
import_file.dxf_3dsc— Import DXF with ShiftThe underlying File Import operator (registered with a file extension filter for
.dxf).import_dxf.reload_modules— Reload Python PathsRe-imports
ezdxfafter a fresh install without restarting Blender.
Linked LOD Import (subpanel)
The Linked LOD Import subpanel (DXF_PT_ImportLinkedLODPanel,
parented to VIEW3D_PT_Import_ToolBar) imports linked meshes with
LOD-suffixed names from one or more .blend libraries. It is the
recommended way to assemble large scenes from external LOD libraries
without duplicating mesh data in the current file.
Operators
import_linked.lod— Import Linked LOD MeshesOpens the library browser and imports the selected meshes as linked data blocks. A confirmation dialog (
wm.import_linked_lod_confirm_dialog) warns that the operation may take a while on large libraries.import_file.linked_lod— Import Linked LODThe underlying File Import operator used to pick the source
.blendfile.
Typical workflow
Press Import Linked LOD Meshes.
Select the
.blendlibrary that contains the LOD meshes.Confirm the operation in the dialog.
The meshes appear as linked objects in the current scene; their LOD level is read from the name suffix and is handled by the LOD Manager panel.