Installing EM Tools: yEd and the Blender Add-on
Todo
Embed YouTube video — placeholder slug 12_em_install_tools.
Once the recording is uploaded, replace this todo with a
.. raw:: html iframe pointing at the real YouTube video ID.
Working title: Installing EM Tools: yEd and the Blender Add-on (~~5 min).
Prerequisites
Blender 3.x, yEd Graph Editor (free download from yworks.com).
Overview
Step-by-step installation: download the EM add-on from GitHub releases, install it in Blender via Edit → Preferences → Add-ons, enable it, then import the EM palette into yEd via Edit → Manage Palette → Import New Section. Both tools are now ready to create and visualise Extended Matrices.
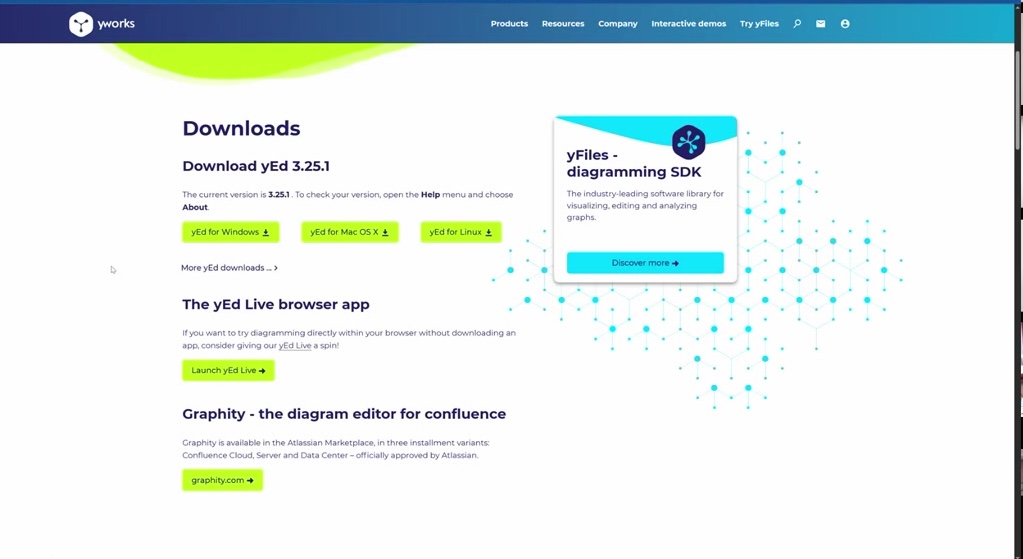
Fig. 10 The ExtendedMatrix.org homepage — the central hub for downloads and documentation.
Key Concepts
Download the OS-specific build from the GitHub Releases page.
Blender: install from disk, enable via checkbox — no restart required.
yEd: the EM palette appears in the right panel after import.
Both tools read/write the same GraphML file format.
Screenshots

Fig. 11 Download page listing software requirements (Blender version, yEd version).
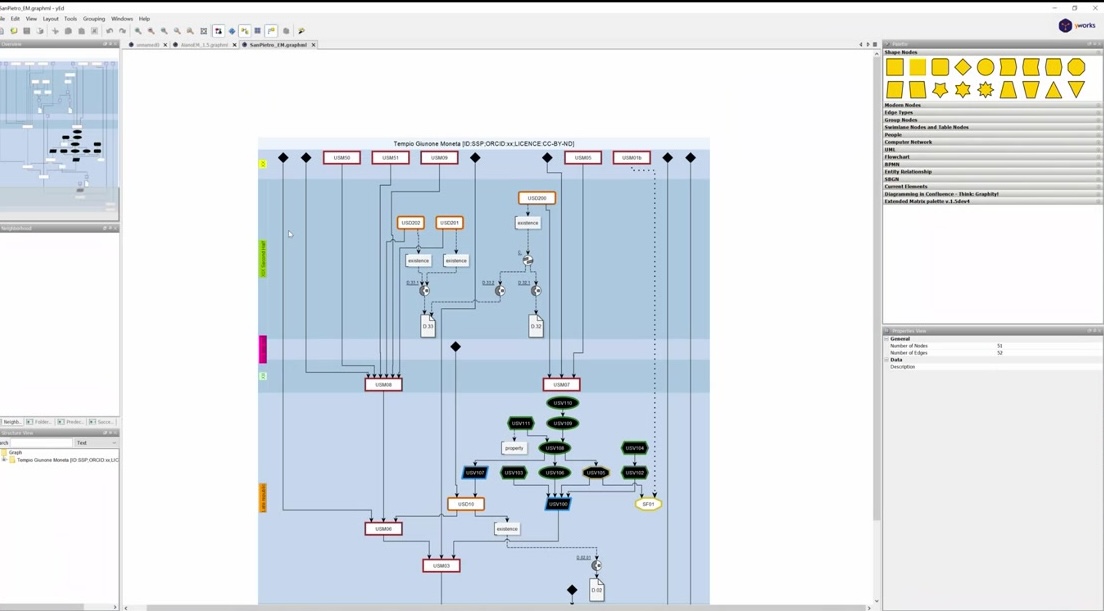
Fig. 12 Blender: Add-ons preferences with ‘Install from Disk’ highlighted.
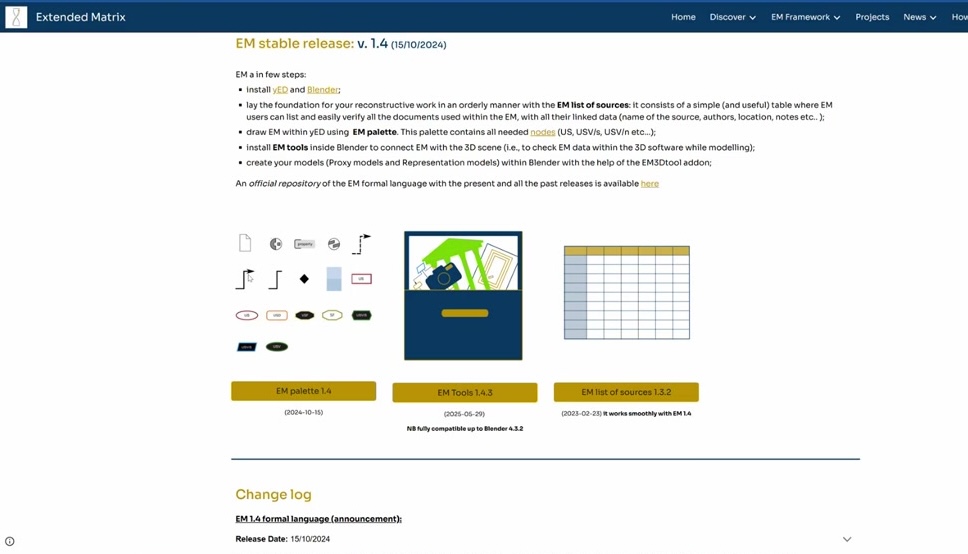
Fig. 13 The EM add-on enabled in Blender preferences (checkbox checked).

Fig. 14 yEd: Edit → Manage Palette → Import New Section dialog.
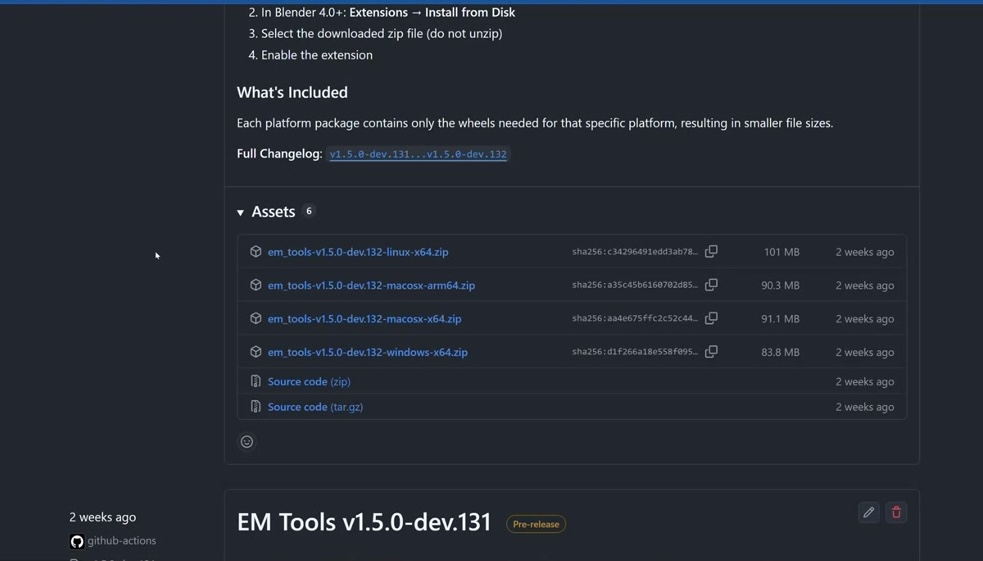
Fig. 15 The EM palette visible in the yEd right-hand panel after import.
Try It Yourself
Install the add-on and confirm the EM panel appears in Blender’s sidebar (N key) and the EM palette is visible in yEd.
Note
A video walkthrough for this tutorial will be available on the Extended Matrix YouTube channel.